鑫景福致力于滿足“快速服務,零缺陷,輔助研發”PCBA訂購單需求。

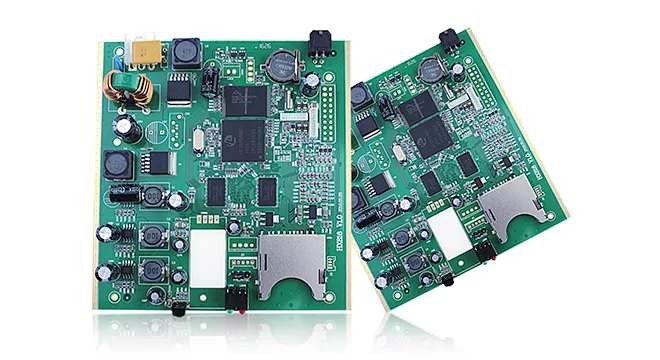


PCBA方案設計
When you purchase a PCB automatic machine, you naturally want to make a PCB to see its powerful functions, but please do not worry, and please carefully read the manual and the operation introduction in this column before you start. You will soon be familiar with the operation and will be deeply attracted by its charm.
1 Please check whether your accessories are complete: instruction manual, fastening tool, DK engraving driver CD, cutter, drill bit, serial port extension cable, power cable, a SMAll amount of copper plate, SPIndle motor carbon brush.
2 Lay the machine flat on the working platform, take out the serial port extension cable (DB9 cable), connect the communICation interface on the right side of the chassis to the COM1 port of the computer, and connect the power cable
.

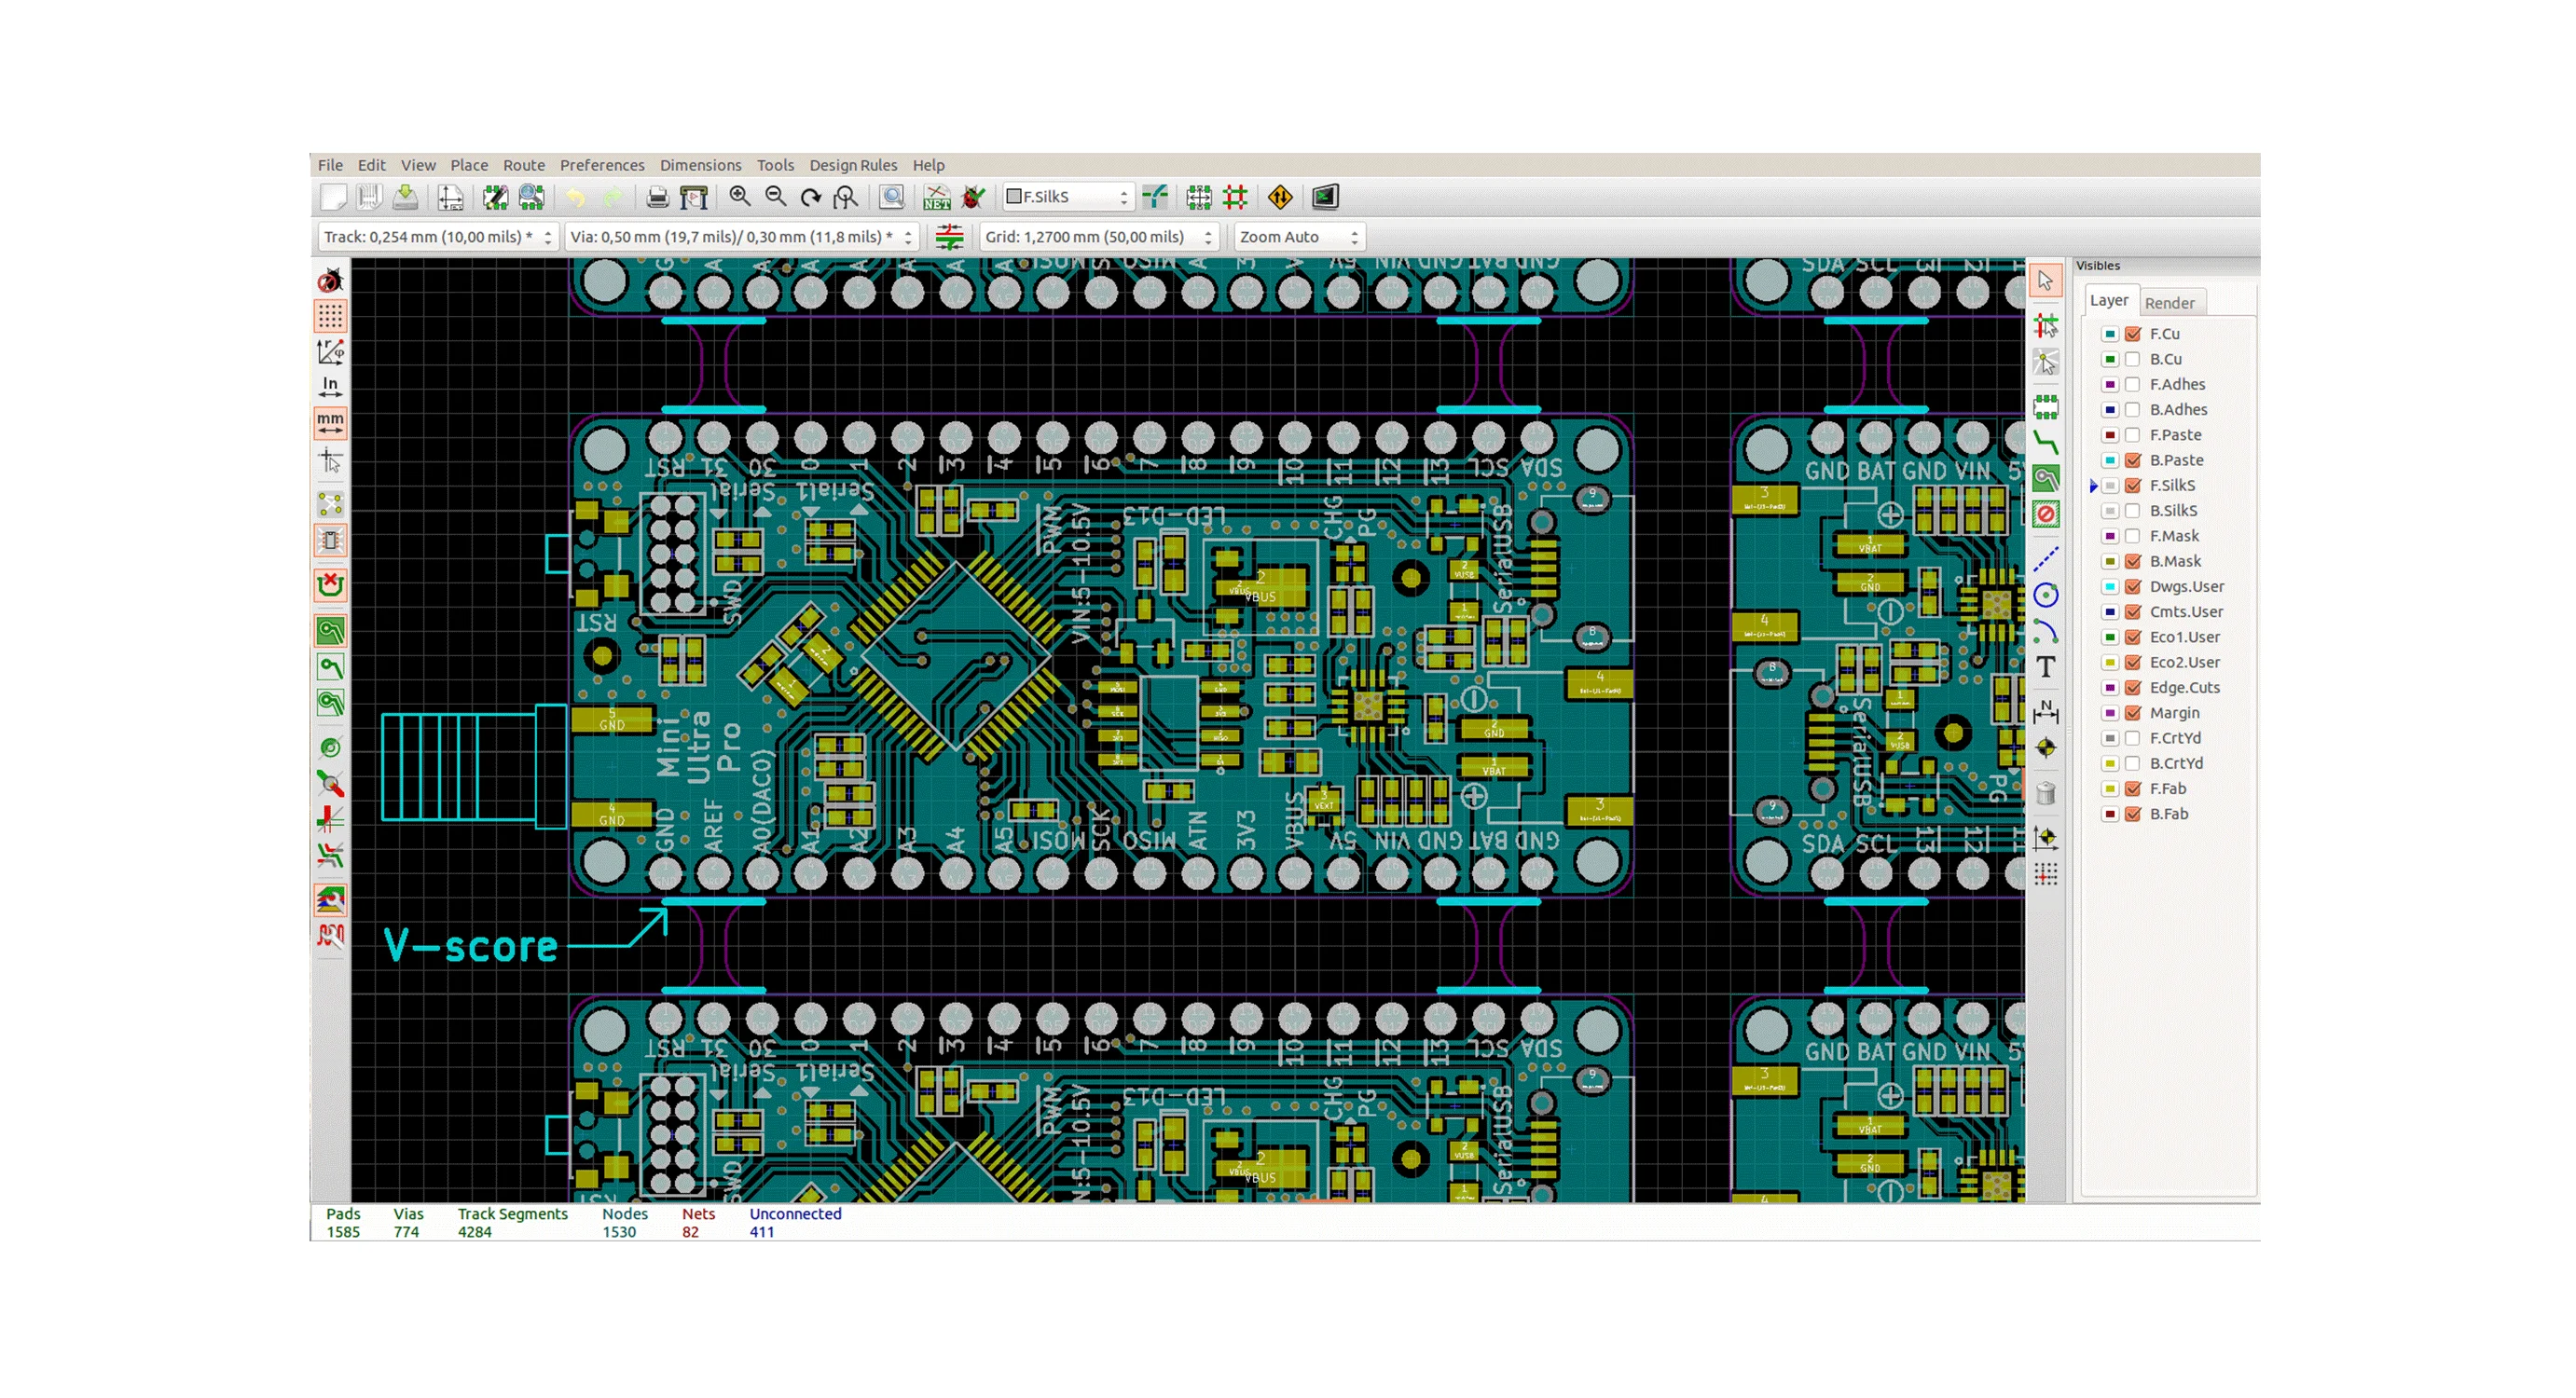
3 Please confirm that your computer's operating system is win98/2000/XP, and the minimum memory configuration is 256M. Open the computer and put in the DK engraving driver CD, and run the corresponding setup.exe file. Open a PCB file of PROTEL and import DK.
4 The appropriate tool can be selected according to the PCB PCB design. For the tool selection parameters in the DK operation interface, it is recommended to select a tool that is slightly smaller than the safe distance in the PROTEL PCB file design (for example, select a tool of 0.38mm, and the tool parameter should be 0.36mm). You must open the file to see if there is any PCB line adhesion caused by the wrong tool selection until the selection is correct. Set the "board thickness" parameter of DK operation according to the board thickness. This operation provides accurate data when drilling and cutting edges.
5 Because the operating system will work slightly lower than the bottom of PCB circuit board when performing edge cutting and drilling, in order to protect the cutter, drill bit and machine working platform, the working platform must be equipped with a copper clad plate equivalent to or slightly larger than the circuit board to be made as the backing plate, and then place the copper clad plate to be made; Note that it is better to place the copper clad plate with thin double-sided adhesive tape. When pasting the copper clad plate, it is required that the pasting surface should be free of particles. Press it flat by hand to ensure that the copper plate is placed flat. The copper plate used should also be flat to ensure the quality of the printed circuit board made by carving. It is recommended to use the original copper-clad plate provided by PCB company after polishing. When installing the copper plate, pay attention to the knife point instalLED on the spindle motor. If necessary, install the copper plate before installing the knife point to ensure safety.
6 Install the copper plate and tool properly, move the spindle and working platform without turning on the main power supply of the machine, so that the tool tip is near the lower right corner of the copper plate. Turn on the main power supply after confirming that the power supply of the spindle is turned off. At this time, the online light is green. Press the online key to turn the online light to red, indicating that the machine is offline; Adjust the positions of the X and Y axes, and then adjust the height of the Z axis so that the tool tip is close to the copper plate. Use the Z+1mm key to roughly adjust the distance to the copper plate through visual inspection. Put a piece of waste paper (white paper torn by double-sided adhesive tape is recommended) on the circuit board, use Z+0.1mm to gradually adjust the height, and finally use Z+0.01mm to adjust the height until the tool tip just presses the paper.
7 Close the door, press the online key to turn the online light green, and turn on the spindle power. If the PCB file cutter and plate thickness parameters have been set, press the trial engraving key, the cutter head starts to move, carve a rectangle according to the maximum area of the designed circuit board, and observe whether the engraving depth meets the requirements. If it is too deep or too shallow, press the online key to make it offline. Press the Z-axis adjustment button to adjust the height, then press the online key to make it online, and then press the trial carving until the carving depth meets the requirements, then press the carving key to carve. After carving, the spindle continues to rotate, but stops at the lower right corner of the circuit board and does not move. At this time, press the trimming key, and the machine starts to cut the shape according to your design. After the cutting process, turn off the spindle power. At this time, do not turn off the main power. Press the online key to turn the online light red. Press the Z-axis adjustment key to raise the Z-axis, take out the flat bottom sharp knife, replace the drill, adjust the Z-axis to make the drill press the white paper, and press the online key to make the online light green, Close the door, turn on the spindle power supply, press the drilling key to start drilling, and turn off the main power supply and spindle power supply after all operations are completed.
8. Operating skills and precautions:
8.1 Form a good habit and confirm that the spindle power is off before turning on the main power. When turning off the main power supply, turn off the spindle power supply at the same time.
8.2 Install the cutter and drill bit and tighten the fixing screws.
8.3 The online light green indicates the online state of the computer and the machine, and the red indicates the offline state. In the online state, the X, Y, Z axis movement buttons are not controlled, which is not a fault.
8.4 If the cutter head is too deep or too shallow in the working state, press the online key to make the online light red, and the spindle continues to rotate but does not move. At this time, the spindle height can be adjusted to continue online work.
8.5 When the power supply is turned on, all the lights on the whole control panel flash. This means that the machine has not been reset successfully. Please turn off the main power supply and the spindle power supply and turn them on after one or two seconds; If the main power supply is suddenly turned off and then turned on in the process of work, the machine will operate randomly because the machine is not completely reset. Do not try randomly.
8.6 Prompt "Non PCB file" when opening the file. The machine is compatible with the PROTEL ASIC 2.8 file format. If your drawing software cannot output this format, please import the file you designed in PROTEL99 and export the file in this format after conversion.
8.7 When you open the file, you will be prompted "No KEEPOUT LAYER". The machine uses the prohibited wiring layer as the outer border of the circuit board. The PCB file you have designed must draw a border line on KEEPOUT LAYER. The line width is equal to the tool diameter (3.15mm).
8.8 Display "beyond the engraving range", there are components or lines outside or close to KEEPOUT LAYER, please modify the circuit diagram.
8.9 Press the function key and the machine does not respond. Please check whether the serial port cable is correctly connected: check whether the online light is green.


抖音二維碼

Q Q二維碼

微信二維碼
點擊
然后
聯系
然后
聯系
電話熱線
13410863085Q Q

微信

- 郵箱